The problem#
After delaying it for some time, I came to realise that if I want to really make my systems “automated”, I’d have to set up some kind of notification system for my server’s.
Why keep an eye on things manually when the computer can notify you?
Trusty ol’ email#
After some light digging on the web, I quickly found out that email is a supported way to do this in Proxmox VE.
This blog is to quickly explain the steps I took to do this, and the resources that I used.
Let’s get talking#
First, we need to make Proxmox talk to an SMTP relay. This is needed because sending out email from your home connection is… lets just say it’s not the way to go for these kinds of applications.
I decided to go with SendGrid. It has a good free tier, so I’m not going to complain. (This is not an endorsement, it’s just a popular free SMTP relay service)
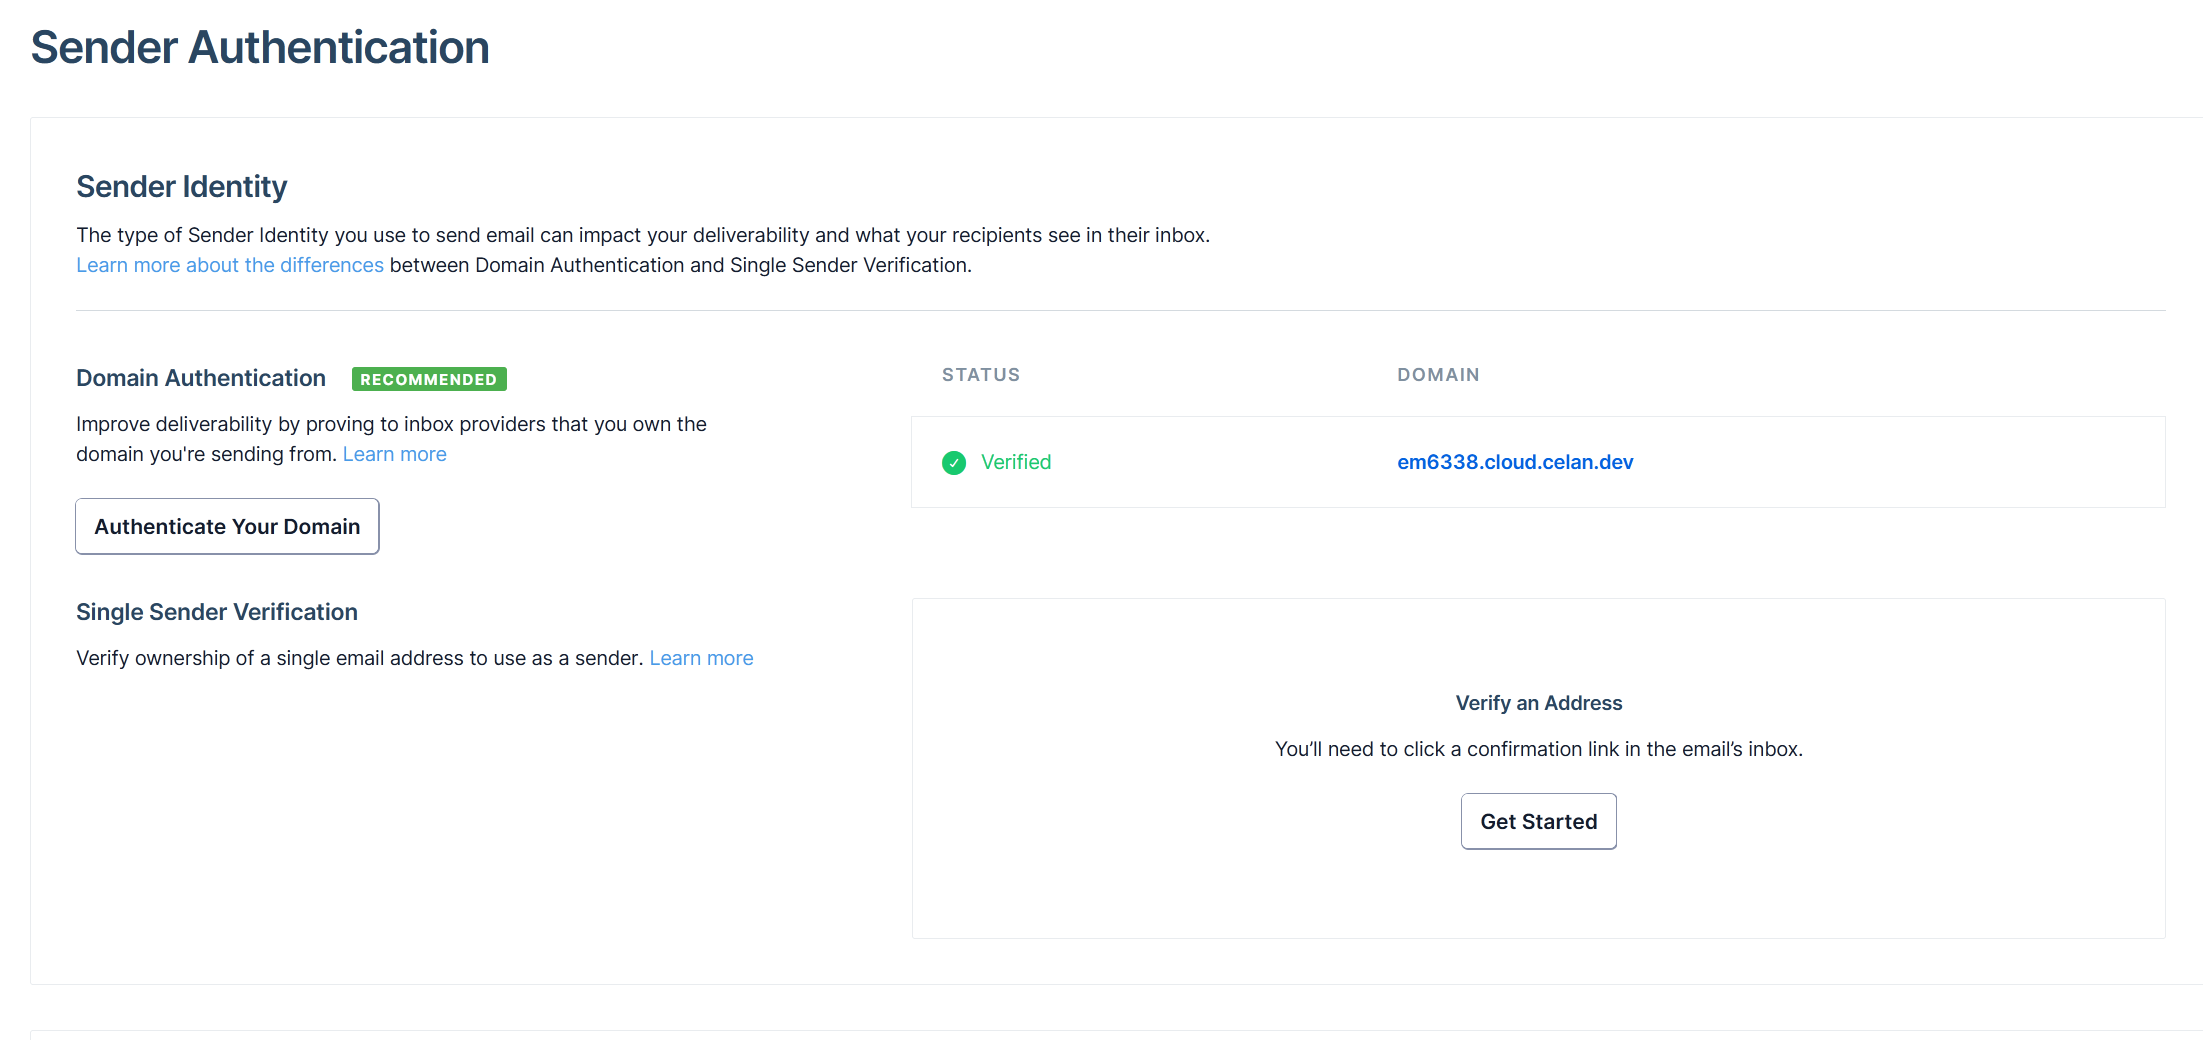
First, you need to verify your domain. This is out of the scope of this blog, so I won’t get into the details. It’s pretty basic DNS stuff for the domain you want.
After that, you need to generate an API key. With this key the Proxmox server will authenticate with the user apikey to smtp.sendgrid.net:587. You’ll be able to send emails as any user you want in that domain (ex. proxmox@yourdomain.tld)
Setting up Postfix#
API key#
Now that we have our API key, we’ll need to tell Postfix to use this. Create a file to hold your API key.
Contents of /etc/postfix/sasl_passwd:
[smtp.sendgrid.net]:587 apikey:REDACTED
Then, you need to encode and change the file perms.
postmap hash:/etc/postfix/sasl_passwd
chmod 600 /etc/postfix/sasl_passwd
postfix-pcre#
While doing some troubleshooting, I came across this feature in Postfix to replace the From address. I did this just to make sure the email got delivered from the correct subdomain.
For this to work, you also need to install the postfix-pcre package. To install it, run apt install postfix-pcre
Contents of /etc/postfix/smtp_header_checks:
/^From:.*/ REPLACE From: proxmox <proxmox@cloud.celan.dev>
main.cf#
After that, I made the following changes to the /etc/postfix/main.cf file:
- Set hostname,
myhostname=cloud.celan.dev - Comment out the existing
#relayhost - Add these lines:
# sendgrid mail config
relayhost = [smtp.sendgrid.net]:587
smtp_use_tls = yes
smtp_sasl_auth_enable = yes
smtp_sasl_security_options = noanonymous
smtp_sasl_tls_security_options = noanonymous
smtp_tls_security_level = encrypt
header_size_limit = 4096000
smtp_sasl_password_maps = hash:/etc/postfix/sasl_passwd
smtp_tls_CAfile = /etc/ssl/certs/ca-certificates.crt
smtp_header_checks = pcre:/etc/postfix/smtp_header_checks
Who?#
To decide who receives these emails, you need to change the root user email in Proxmox. This can be done in the Web UI
Datacenter -> Permissions -> Users -> root
You also need to enter an email address to be able to get notifications for things like backups. Those are in their respective settings tabs.
Let’s test#
Run systemctl restart postfix to apply all the changes we’ve made.
Now, to test if it actually works, we can run
echo "This is a test email" | mail -s "Testing" user@example.com
If it didn’t work, a useful location to check for errors is /var/log/mail.log