This post will be explaining how I set up an IPv6-mostly network with the help of NAT64 with Jool on my home network.
Introduction#
Before we start, lets go over the current setup. I’m currently running an OPNsense router, which is as a virtual machine on top of Proxmox. The network that I’ll be turning into v6-mostly will be my personal LAN, that has standard dualstack connectivity.
Even though OPNsense has a plugin for NAT64 with Tayga, I wasn’t happy with the setup and performance.
Preparations#
To run Jool, I set up a Debian 12 VM on proxmox, and gave it IP addresses ending in ::64 and .64, so I can easily recognise when traffic is coming to and from the NAT64 translator.
Before deciding to go with a dedicated VM, I tested running Jool on an LXC container, but this didn’t go successfully.
Installation#
For the installation I’ll be documenting the steps I took after setting up the Debian VM:
Following the installation steps here
apt install linux-headers-$(uname -r)apt install jool-dkms jool-tools
Put a config like this one in the jool config path /etc/jool/jool.conf
{
    "instance": "default",
    "framework": "netfilter",

    "global": {
            "pool6": "64:ff9b::/96",
            "logging-debug": false
    }
}
Enable the service
systemctl enable joolsystemctl start jool
Adjust needed configs in /etc/sysctl.conf
This is needed because when forwarding is enabled for IPv6, by default Debian will disable the acceptation of Router Advertisements. To fix this, you need to set
accept_rato 2.If you prefer, this could also be a config file in /etc/sysctl.d/
Here is a snippet that I use:
net.ipv4.ip_forward=1
net.ipv6.conf.all.forwarding=1
net.ipv6.conf.ens18.forwarding=0
net.ipv6.conf.ens18.accept_ra=2
In my example, my dualstack interface is ens18.
Add a static route for the well-known NAT64 prefix in your router
The steps to take here depends on the router you’re using. This feature might not even be a supported in your router.
This can be handled with dynamic routing protocols, but that felt a little overkill for this simple guide.
To do this in OPNsense:
- Go to https://opnsense.local/ui/routing/configuration
- Add a new IPv6 gateway with the address of your NAT64 VM (preferrably LLA address)
- Go to https://opnsense.local/ui/routes
- Add a routing rule pointing
64:ff9b::/96to your NAT64 gateway. - Profit
Now you have a running NAT64 gateway with Jool. If you use a DNS64 server (or enable DNS64 on your local resolvers), your devices should start using this NAT64 gateway whenever possible.
Going IPv6-mostly#
To tell devices (that support it) to turn off IPv4 and enable their CLAT, you have to enable DNS64 and DHCP option 108
DNS64
For unbound on OPNsense, just click on the “Enable DNS64 Support” button and save the config.
For normal installation of unbound add this to your config:
module-config: "dns64 validator iterator"
dns64-prefix: 64:FF9B::/96
DHCPv4 Option 108
To set DHCPv4 option 108 on OPNsense, go to your advanced DHCP options and add a 32-bit unsigned integer. This is the amount of time (in seconds) to turn off IPv4 for. I used 86400 (1 day).
Here is a screenshot from my Android device running IPv6-only while still having IPv4 connectivity to the internet.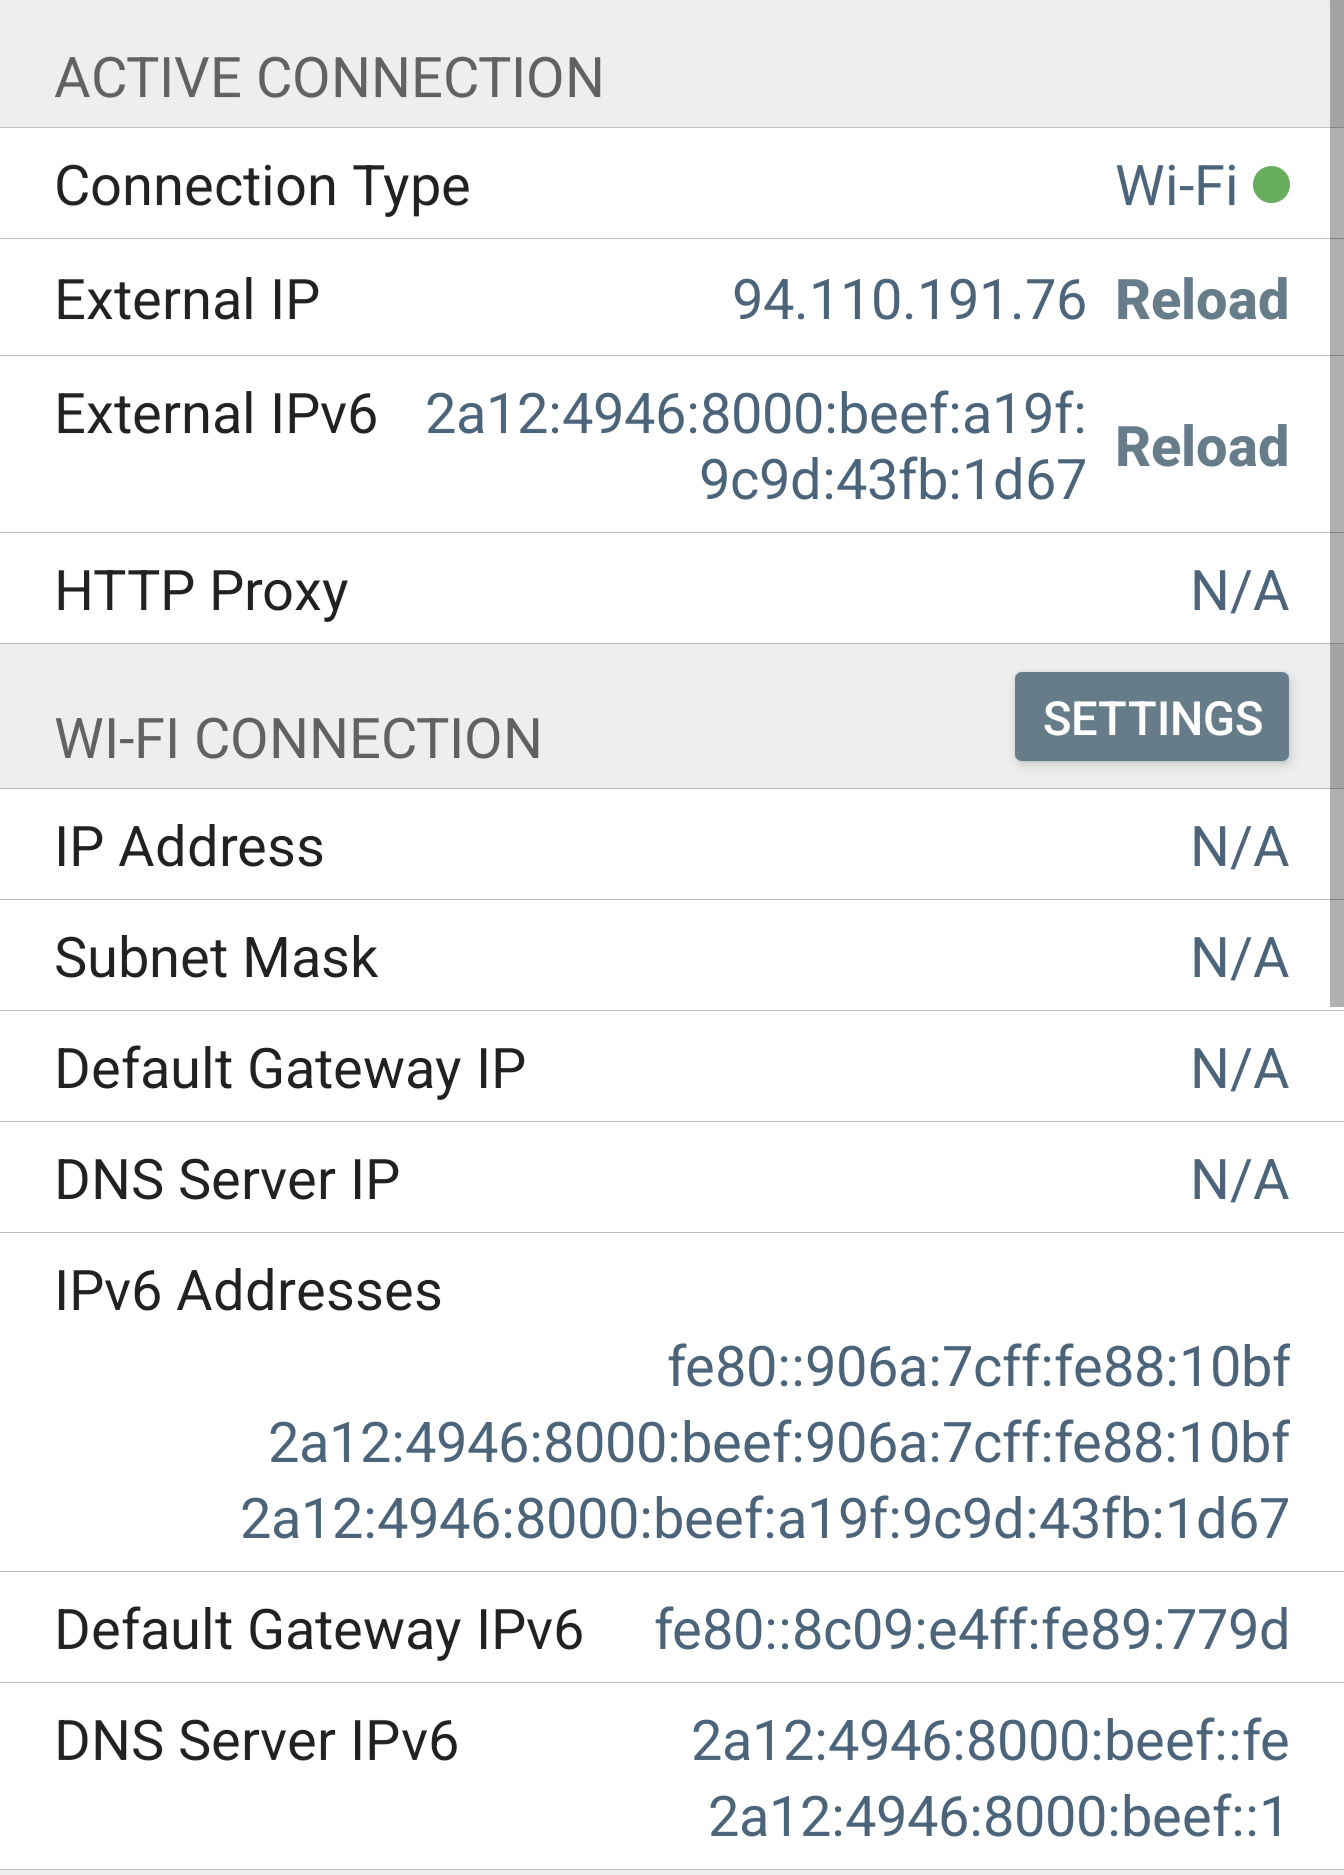
Conclusion#
I hope this guide was somewhat helpful.
So far I’ve noticed that Newer Android and iOS devices work great with v6-only. The only issue I’ve had so far was that an iOS device couldn’t print on our printer, even though the printer supports IPv6. After further testing it looks like neither the Canon Print Service Android app, neither the iOS built-in printer discovery function was able to find the printer.